IDENTIFYING AND FIXING COATING DEFECTS
Paint defects are an unavoidable challenge in the automotive refinishing industry. Coating imperfections can arise from various factors, including accidents, exposure to harsh substances, poor application methods, or incorrect paint formulation. By helping you recognise and minimise these issues, you can consistently achieve high quality results. Reducing defects also leads to improved efficiency, less rework and most importantly, greater customer satisfaction.
Here are four examples, their causes and how to prevent them, as well as how to fix the problem.
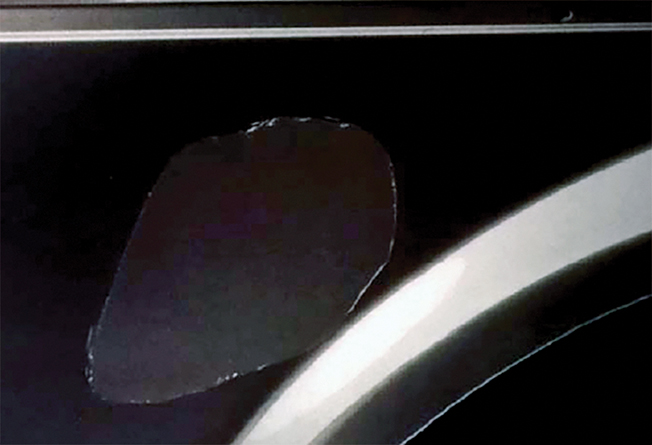
Clearcoat adhesion loss
Loss of adhesion of the clearcoat from the basecoat.
Cause
- Excessive film thickness of basecoat.
- Intermediate and final flash-off times of the basecoat were too short.
- Wrong mixing ratio for clearcoat and activator.
Prevention
- Proper flash-off times between coats, basecoat and before applying clearing.
- Apply proper film thicknesses of all layers.
- Mix clearcoat correctly.
- Follow system advice as per the technical data sheets supplied.
Remedy
- Sand, isolate if necessary and refinish.
Loss of adhesion on plastic parts
Loss of adhesion of the refinish system and a plastic part substrate. This defect is often noticed some time after the painting took place.
Cause
- Improper cleaning, drying or preparation – failure to remove mould-release agents.
- Incorrect treatment.
- Wrong identification of substrate.
- Failure to use proper sealer/primer.
- Failed to use proper/recommended topcoat system.
Prevention
- Clean and degrease the plastic part properly.
- Identify the type of plastic substrate and follow advised system.
- Use suggested sealer/primer using the correct mixing ratio of activator, flexible additive and thinners.
- Apply sealer/primer to recommended film build using suggested viscosity.
- Use topcoat as advised for type of plastic substrate to be painted.
- Where suggested, use a suitable adhesion primer for the type of plastic substrate being finished.
Remedy
- Remove all layers from the substrate.
- Refinish using suggested preparation and paint system for type of plastic substrate to be painted.
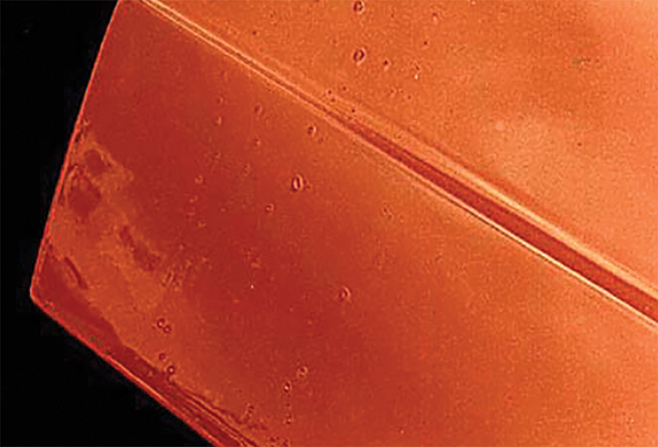
Bleeding
Also known as bleed through, staining or stains. Original finish colour or peroxide hardener for polyester body filler seeping through the topcoat, causing a discoloration of the new finish.
Cause
- Reaction of pigments from the original finish with solvents of the coat which has been applied on top of it.
- Old finish not well sealed.
- Contamination – usually in the form of soluble dyes or pigments on the older finish before it was repainted. This is true with older shades of red.
- Too much hardener used in the polyester putty or filler.
- Insufficient mixing of the polyester putty or filler.
Prevention
- Test old finish applying a coat of the colour on a small area if bleeding is likely to occur, if so, apply sealer.
- Use only the recommended quantity of hardener when mixing the polyester putty or filler.
- Check quantity of hardener, mix by weight or use a dispensing machine.
- Mix all putties or fillers thoroughly.
Remedy
- Remove polyester and re-do repair.
- Sand, isolate the original finisher with sealer and reapply the topcoat.
Chipping
Small chips of a finish losing adhesion from the substrate, usually caused by impact of stones or hard objects against the vehicle’s finish. While the refinisher has no control over local road conditions and can’t help the prevention of these happening – they can take steps to minimise their effect if they know beforehand that these conditions will exist.
Cause
- Stones and other hard objects hitting the vehicle finish at high speed.
Prevention
- Use a flexibilised primer surfacer within your refinishing system.
- Activated basecoat improves chip resistance.
Remedy
Repair area affected by chipping with a flexible system. Areas to pay special attention to are the bonnet, leading edge of roof, lower side areas and around wheel openings.
By Claire Macfie